Smart contracts are self-executing contracts where the terms of the agreement are written in code. They operate on blockchain technology, providing a secure and decentralised way to execute agreements without intermediaries. Decentralised Applications (dApps) are applications that run on a peer-to-peer network of computers, rather than a single computer, offering advantages in terms of blockchain security and decentralisation. As mentioned in our previous article about the Popular Web3 Programming Languages in 2024, C# stands as an efficient and scalable programming language for developing Web3 blockchain applications. Hence, in this article, we'll teach you how to write smart contracts and create a dApp on the aelf blockchain using C#.
Prerequisites
Before diving into smart contracts and dApp development, you should have a basic understanding of blockchain technology, including its decentralised nature and consensus mechanisms. A strong foundation in C# programming is essential, as the tutorial will leverage C# for development. Additionally, setting up your development environment is crucial. This typically involves installing an Integrated Development Environment (IDE) like Visual Studio Code, which is well-suited for C# development.
Step 1: Setting Up The Development Environment
To begin developing, the first step involves setting up the development environment. This entails installing necessary tools such as blockchain-specific tools, SDKs, and any essential plugins to support blockchain development within your Integrated Development Environment (IDE).
{{how-to-write-smart-contract}}
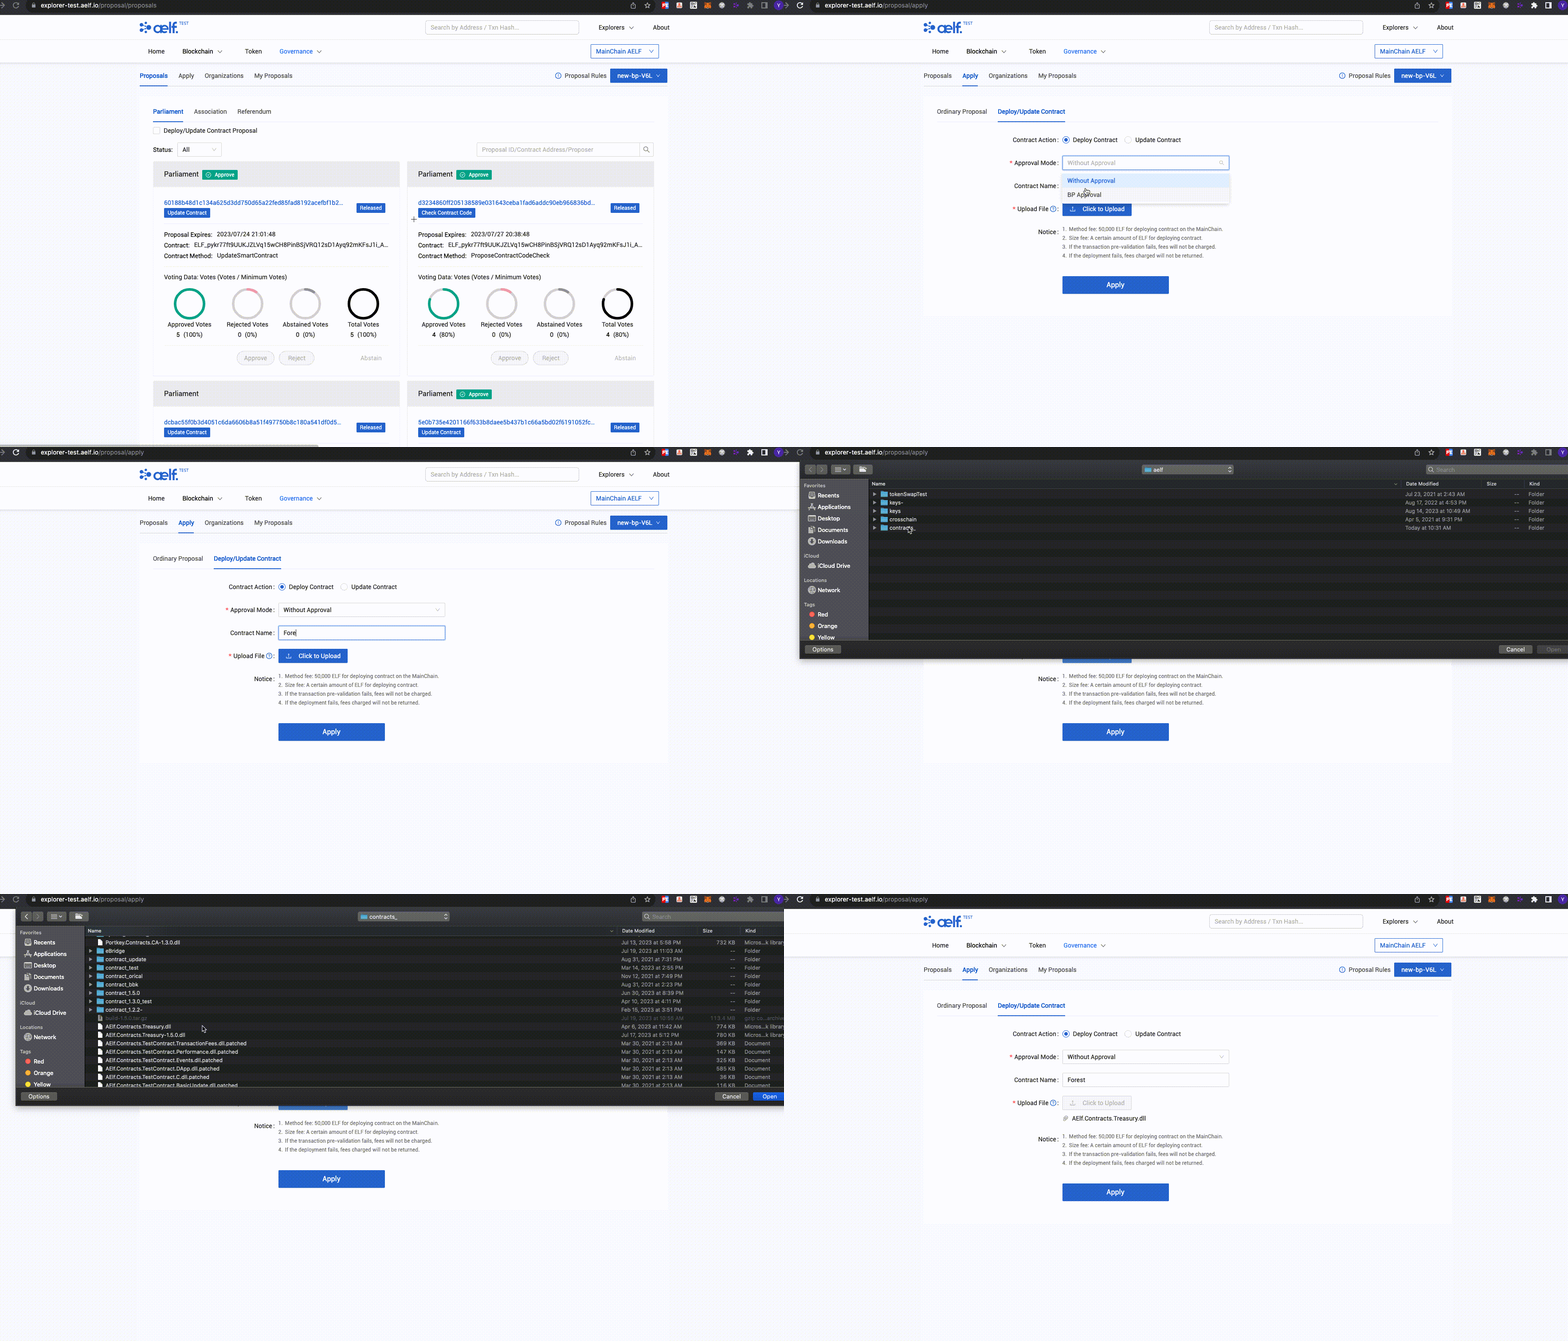
Figure 1: aelf node URLs and their corresponding explorer URLs on Testnet
Additionally, depending on the platform, you may need to configure a local node or connect to a test network to facilitate blockchain node setup. This foundational step lays the groundwork for efficient and effective blockchain development. Refer to this page on how to set up a local node on the aelf blockchain.
Step 2: Writing a Smart Contract in C#
In the second step of the process, you'll delve into writing a smart contract using C#. Begin by familiarising yourself with the syntax specific to smart contracts in C#. Next, focus on coding the business logic of your contract, which may entail creating functions for transactions, data storage, and other essential operations. It's crucial to prioritise security considerations during this stage, ensuring that your contract is robust enough to handle exceptions and edge cases effectively. By meticulously addressing these aspects, you can develop a smart contract that is not only functional but also secure and reliable.
Hello World example (Protobuf)
Hello World example (C#)
Step 3: Testing the Smart Contract
In the third step of the development process, you will focus on testing the smart contract thoroughly. This involves two key aspects: unit testing and testing on test networks. Firstly, you'll write and execute unit tests for your contract to validate the functionality of each function, ensuring they behave as intended. Subsequently, you'll deploy your contract to a test network and interact with it to assess its performance in a simulated environment, offering insights into its behaviour under real-world conditions. By rigorously testing the smart contract through these methods, you can identify and address any potential issues or bugs, ultimately ensuring its reliability and effectiveness before deployment to the main network.
Hello World example - tests (C#)
Step 4: Developing the dApp Interface
Developing a dApp interface entails crafting a user-friendly front-end that interacts seamlessly with the blockchain integration. To achieve this, developers utilise web development technologies such as HTML, CSS, and JavaScript to design the visual and interactive components of the dApp. This web interface serves as the gateway for users to engage with the dApp's functionalities, offering an intuitive and responsive design that aligns with the blockchain application's objectives.
The next crucial step is integrating this front-end with the dApp's underlying smart contract. This is where C# libraries or frameworks come into play, enabling the front-end to communicate with the blockchain. Developers leverage these tools to send transactions, query blockchain data, and listen for events triggered by the smart contract. By effectively combining these elements, developers can create a dApp interface that looks appealing and provides a seamless and efficient user experience, bridging the gap between traditional web applications and blockchain-based functionalities.
Hello World example - front-end (JavaScript)
Step 5: Deploying the dApp
Deploying a dApp built on C# onto the blockchain involves a series of strategic decisions and technical steps to ensure its successful launch. Firstly, developers must choose the deployment environment, weighing the options between deploying on a test network or the main network. The test network offers a risk-free environment to test the dApp's functionalities and smart contract interactions without real-world consequences, while the main network is where the dApp will run in a live, production environment, involving real transactions and users.
Once the environment is selected, the next step is the smart contract deployment. This requires utilising the tools and frameworks provided by the target blockchain platform, which facilitates the process of uploading and initiating the smart contract on the chosen network.

Finally, the deployment of the dApp itself involves hosting the front-end application. Developers have the option to host it on a traditional server such as Amazon Web Service (AWS) or opt for decentralised storage solutions such as InterPlanetary File System (IFPS), which align with the ethos of decentralisation inherent to blockchain technology. Decentralised storage enhances security and resistance to censorship and promotes data integrity and availability, making it a fitting choice for dApp deployment.
Take your Web3 Development to the Next Level with C#
Web3 development using C# represents a cutting-edge intersection of blockchain technology and modern programming. It involves leveraging the robust and versatile nature of C# to build dApps and smart contracts, primarily on blockchain platforms that are compatible with the .NET framework. This approach is particularly appealing due to C#'s strong object-oriented features and comprehensive library ecosystem. Developers can harness these capabilities to create secure, efficient, and scalable blockchain applications. As the Web3 landscape continues to evolve, C# is emerging as a powerful tool for developers looking to innovate and build on the decentralised web. aelf is committed to providing a developer-friendly environment that addresses the unique challenges and opportunities of developing in the Web3 and crypto space.
Here are some developer resources you may refer to:
- AElfProject: https://github.com/AElfProject
- AElf Documentation: https://docs.aelf.com/
- Portkey: https://github.com/Portkey-Wallet/
- Portkey Documentation: https://doc.portkey.finance/
If you have any questions on building on the aelf blockchain, feel free to reach out to the team on Telegram or Discord.
*Disclaimer: The information provided on this blog does not constitute investment advice, financial advice, trading advice, or any other form of professional advice. Aelf makes no guarantees or warranties about the accuracy, completeness, or timeliness of the information on this blog. You should not make any investment decisions based solely on the information provided on this blog. You should always consult with a qualified financial or legal advisor before making any investment decisions.
About aelf
aelf, the pioneer Layer 1 blockchain, features modular systems, parallel processing, cloud-native architecture, and multi-sidechain technology for unlimited scalability. Founded in 2017 with its global hub based in Singapore, aelf is the first in the industry to lead Asia in evolving blockchain with state-of-the-art AI integration, transforming blockchain into a smarter and self-evolving ecosystem.
aelf facilitates the building, integrating, and deploying of smart contracts and decentralised apps (dApps) on its Layer 1 blockchain with its native C# software development kit (SDK) and SDKs in other languages, including Java, JS, Python, and Go. aelf’s ecosystem also houses a range of dApps to support a flourishing blockchain network. aelf is committed to fostering innovation within its ecosystem and remains dedicated to driving the development of Web3, blockchain and the adoption of AI technology.
Find out more about aelf and stay connected with our community:
Website | X | Telegram | Discord


.jpg)
